Why the Radon Vent Pipe Is the Backbone of an Effective Mitigation System
If you are dealing with elevated radon levels in your home, you have probably read about mitigation systems. There are many parts to a system, but one component often does the heavy lifting without much fanfare: the radon vent pipe. I have seen plenty of setups over the years, and the ones that work best always have a properly sized and routed vent pipe at their core. Without it, even the best fan assembly and suction pit can fall short.
A typical radon mitigation system uses sub-slab depressurization. This method pulls soil gas from beneath the foundation and exhausts it safely above the roof. The radon vent pipe is the conduit that makes that happen. It connects the suction point under the slab to the outside air. If that pipe is too narrow, has too many bends, or is not sealed well, the whole system loses efficiency. I have seen homeowners try to save money by using smaller PVC pipe, only to find that their manometer shows little to no vacuum. That is a common mistake.
What a Radon Vent Pipe Does in Practice
When a radon mitigation contractor installs a system, they typically drill a hole through the basement slab or into a sump beneath the crawl space. They create a suction pit filled with gravel or crushed stone. From that pit, a run of PVC pipe extends upward, through the house, and out the roof. A fan assembly mounted in the attic or on the exterior pulls air from under the slab and pushes it out the vent pipe. The result is a pressure difference that keeps radon from entering the living space.
The radon vent pipe must be continuous and airtight. Every joint is glued, and where the pipe passes through the foundation wall, pipe flashing seals the gap. If there is a leak anywhere along the run, the system loses vacuum and the manometer reading drops. I have been on service calls where the homeowner reported a system that was not working, and the culprit was a small crack in the vent pipe hidden behind drywall. Fixing that crack restored proper function.
Sizing and Routing Matter More Than You Think
The diameter of the vent pipe affects how much air the fan can move. Most residential systems use 3-inch or 4-inch PVC pipe. A 3-inch pipe works for smaller homes with moderate soil gas flow, but a 4-inch pipe is better for larger footprints or tighter soils. If the pipe is too small, the fan works harder and moves less air. That can lead to higher static pressure and lower overall flow. The vacuum gauge on the system tells the story. A reading that is too high often means the pipe is undersized or has too many elbows.
Routing the pipe through the house is another consideration. The ideal path is straight up, with as few turns as possible. Each 90-degree elbow adds resistance. In some homes, the pipe must go around obstructions like joists or plumbing. In those cases, using two 45-degree elbows instead of one 90-degree turn reduces drag. I have seen installers run pipe through closets or utility rooms to keep the run short. That is smart because it keeps the system efficient and the radon vent pipe out of the way.
Where the Pipe Meets the Ground
The connection between the vent pipe and the suction pit is critical. A typical setup involves a 4-inch hole through the basement slab, with the pipe extending a few inches into a gravel bed below. The gravel acts as a collection point for soil gas. Some contractors install a small sump or a capped tee at the bottom to make future maintenance easier. This is where a damper can be useful. A damper installed in the pipe allows the contractor to balance the system, adjusting airflow to achieve the best vacuum reading.
I have also seen systems where the vent pipe is connected to a drainage tile or a perimeter drain. That can work, but only if those paths are not blocked. The key is to create a continuous path from the soil under the foundation to the outside air. If the pipe is blocked by water or debris, the system stops working. That is why a post-mitigation verification is so important. A technician will run a radon test after installation to confirm the system is reducing levels. They will also check the manometer to make sure the vacuum is stable.
Materials and Longevity
PVC pipe is the standard for radon vent pipe because it is durable, resistant to corrosion, and easy to work with. It also does not react with soil gases. However, not all PVC is the same. Schedule 40 pipe is common, but schedule 20 thin-wall pipe is sometimes used to save weight. In my experience, schedule 40 holds up better if the pipe is exposed to sunlight or mechanical stress. The pipe must also be properly supported every few feet to prevent sagging.
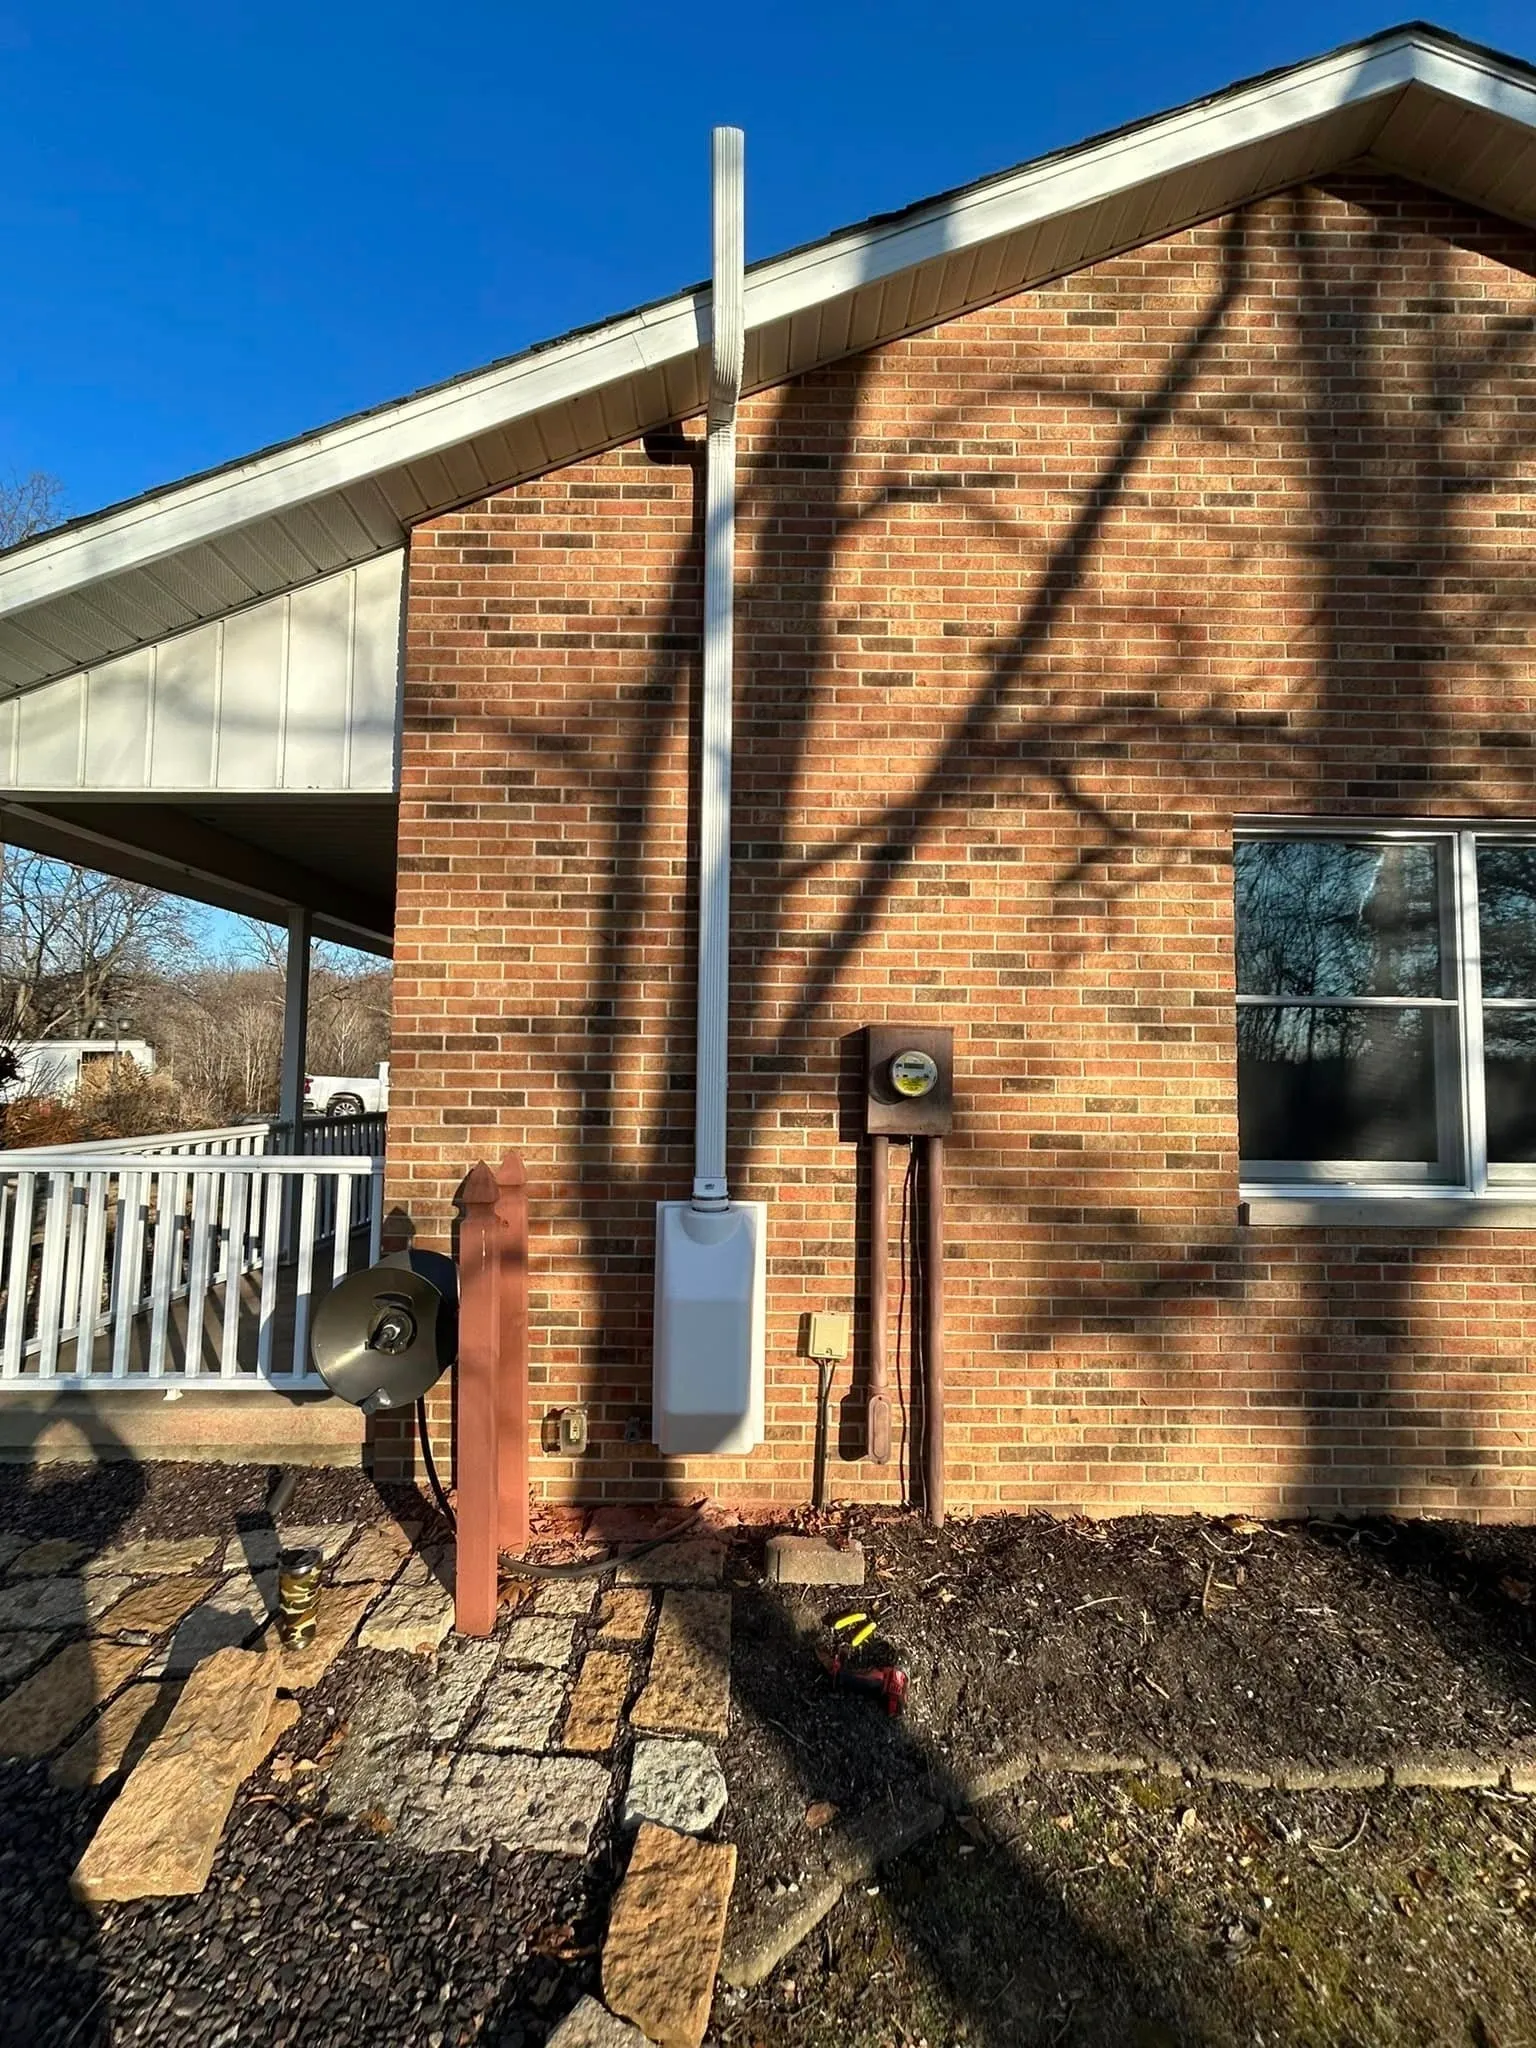
Outdoor sections of the pipe need UV protection. Some contractors paint the pipe with a UV-resistant paint or use a sleeve. If the pipe runs through an unheated attic, insulation may be needed to prevent condensation. In cold climates, the pipe can freeze if it is not properly insulated. That is rare, but it happens. I once saw a system where the vent pipe ran through an unconditioned garage and froze solid in a cold snap. The fan kept running, but no air moved. The homeowner did not notice until the manometer showed no vacuum.
Testing and Verification
After installation, a radon mitigation system should be tested to confirm it is working. The EPA recommends a radon test after mitigation, typically lasting 48 hours or more. A radon detector placed in the lowest livable level will show whether levels have dropped below the action level. But the real-time check comes from the manometer. That small gauge tells you if the fan is creating enough vacuum to pull soil gas out from under the slab. If the manometer shows a steady reading, the radon vent pipe is doing its job.
Some systems also include a vacuum gauge at the suction pit. That gives a more accurate reading of the pressure under the slab. If the vacuum is too low, the system may not capture all the soil gas. If it is too high, the fan may be oversized or the pipe may be restricted. Balancing those pressures is part of the art of mitigation. Companies like Air Sense Environmental in St. Louis use these tools to fine-tune their installations.
Common Issues and Fixes
Over the years, I have run into a few recurring problems with radon vent pipe. One is that the pipe gets knocked loose during construction or remodeling. Another is that the pipe cap on the roof gets clogged with leaves or bird nests. That is an easy fix. A third issue is that the pipe is not properly sealed where it exits the foundation. Water can then seep in and block the pipe. Using pipe flashing and a good sealant prevents that.
I also see systems where the vent pipe is run too close to windows or air intakes. That can cause the exhausted radon to be pulled back into the house. The EPA recommends that the pipe terminate at least 10 feet above ground level and 10 feet away from any openings. That is a good rule of thumb. If the pipe is too short, the gas settles near the house and can re-enter through windows or doors.
Another subtle issue is that the fan assembly can vibrate and loosen the pipe connections over time. Using flexible couplings or vibration isolators helps. I have seen systems where a loose joint caused the pipe to separate inside the wall, creating a radon leak right into the living space. That is dangerous. Regular checks of the manometer and a visual inspection of the pipe every few months can catch these problems early.
Final Thoughts
The radon vent pipe is not the most glamorous part of a radon mitigation system, but it is the part that makes everything else work. Without a properly installed, sized, and sealed pipe, the fan, the suction pit, and the testing all lose their value. If you are having a system installed, pay attention to the pipe. Ask your contractor about the diameter, the routing, and the materials. A good contractor will be happy to explain why they chose what they did. In St. Louis, where radon levels can be high, a well-built system with a solid vent pipe gives peace of mind. And that is worth the investment.